How to Take a Screenshot on Windows
- Kristin Gintert

- Jan 21, 2023
- 3 min read
Being able to take screenshots can be extremely helpful if you are trying to share something or demonstrate how to do a task on your Windows computer. However, it might not be immediately clear how to do this on Windows (especially if you don't have a Print Screen/PrtScr button on your keyboard).
So, how do you take a screenshot on Windows? All Windows computers come with the Snipping Tool which you can access from Start > Search > Snipping Tool or by tapping the Print Screen button on your keyboard. However, the snipping tool does have annotation limitations and you might find an alternative tool to be a better solution.
Lets walk through how to use the Snipping Tool on your Windows 10 or 11 computer and also a great alternative solution for annotating your screenshots (which I personally use and recommend).
Find out how to use the Snipping Tool on Windows 10!
How to Use Windows Snipping Tool
As previously stated, you can access this tool directly by opening the tool or by tapping the Print Screen/PrtScr button on your keyboard.
To open the program directly on your Windows computer,
Click on the Start button
Search for Snipping Tool
Click Open

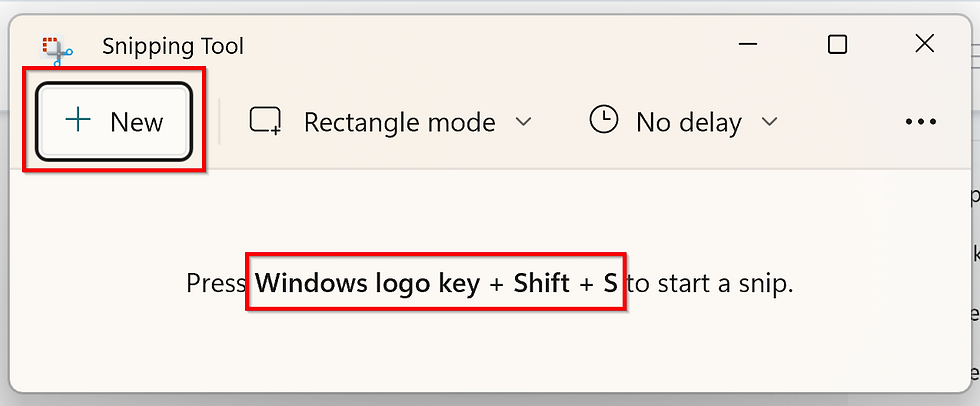
Once the program is open, you will see a new window open for the Snipping Tool.
If you do not have your Print Screen button connected to the Snipping Tool (like me since I use an alternative) you will see instructions for how to automatically trigger the Print Screen using a hotkey on your keyboard.
Windows logo key + Shift +SAdditionally, you can start a new print screen by clicking on New in the upper left.

However, before starting a new screen capture, you might want to change the mode. By default, the tool is set to select in Rectangle mode which means when you click and drag over an area, your screenshot will be in rectagle shape.
Perhaps you would like something different. If you click on Rectangle mode, you will see some other options to choose from:
Rectangle mode
Window mode
Full-screen mode
Free-form mode

While fairly self-explainatory, per Windows support article, these modes are defined as,
Rectangle mode | Drag the cursor around an object to form a rectangle. |
Window mode | Select a window, such as a dialog box, that you want to capture. |
Full-screen mode | Capture the entire screen, including if you have multiple monitors. |
Free-form mode | Draw a free-form shape around an object. |
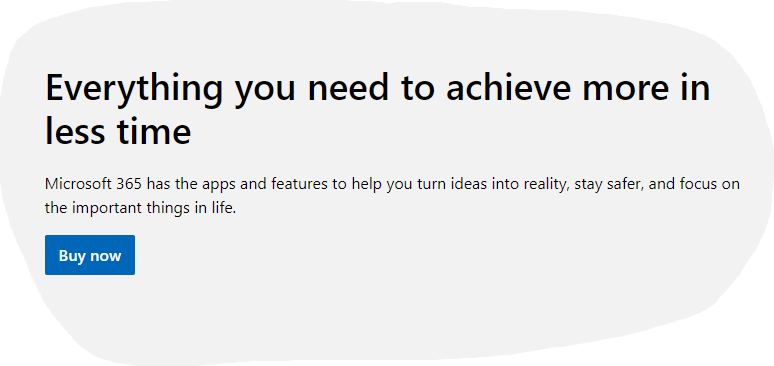
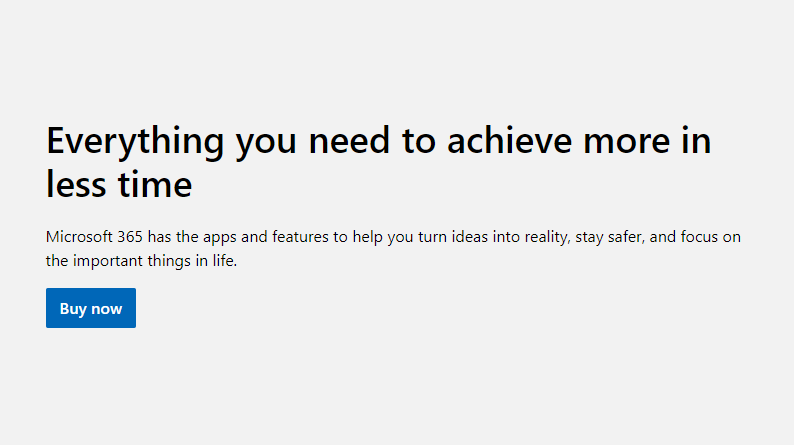
Here are examples of all 4 screen capture modes:
Now that you've selected the mode you would like to use, you are ready to take a screenshot. By either clicking New or using the hotkey, you will notice that your screen turns a gray color.
If you're using the Rectangle mode or Free-form mode, simply click and drag over the area that you would like to capture. If you're using Window mode or Full-screen mode, you simply need to click on the window and the entire view will be captured.
The Snipping tool has limited annotation capabilities, but here is an overview of what you can do with your screenshots after they are captured in the Snipping Tool software.
Drawing with different color and pen thickness:

Highlight text with a freeform highlighter in different colors and thicknesses:

Draw perfectly round or straight lines with the Ruler or Protractor tool:

Also, if you captured too much, you can always crop your images:

Once you are done editing your screenshot, you simply click on the save icon in the upper right!
Windows Snipping Tool Alternative
The Snipping Tool is great for basic screenshots, however, you might want additional annotation capabilities such as blurring content, drawing shapes or even adding numbered steps to your images.
This is what I felt and I found a great FREE alternative that I use for everything!
It's called Greenshot and you you can download it for free here.
Here is an example of the Greenshot image editor and some of the different editing and annotation capabilities that I added to the below screenshot:
Blurred area
Highlighter
Number sequencing
Free hand drawing
Shapes
Speachboxes
Text
Arrows
Border and image effects

In addition to what I used in the above image, you can also rotate, flip, crop, and resize the image to fit your needs!


Thank You Nice Blog. Cheapest Smm Panel in India